



Phone:
0086 28 87573647
+86 19150187139

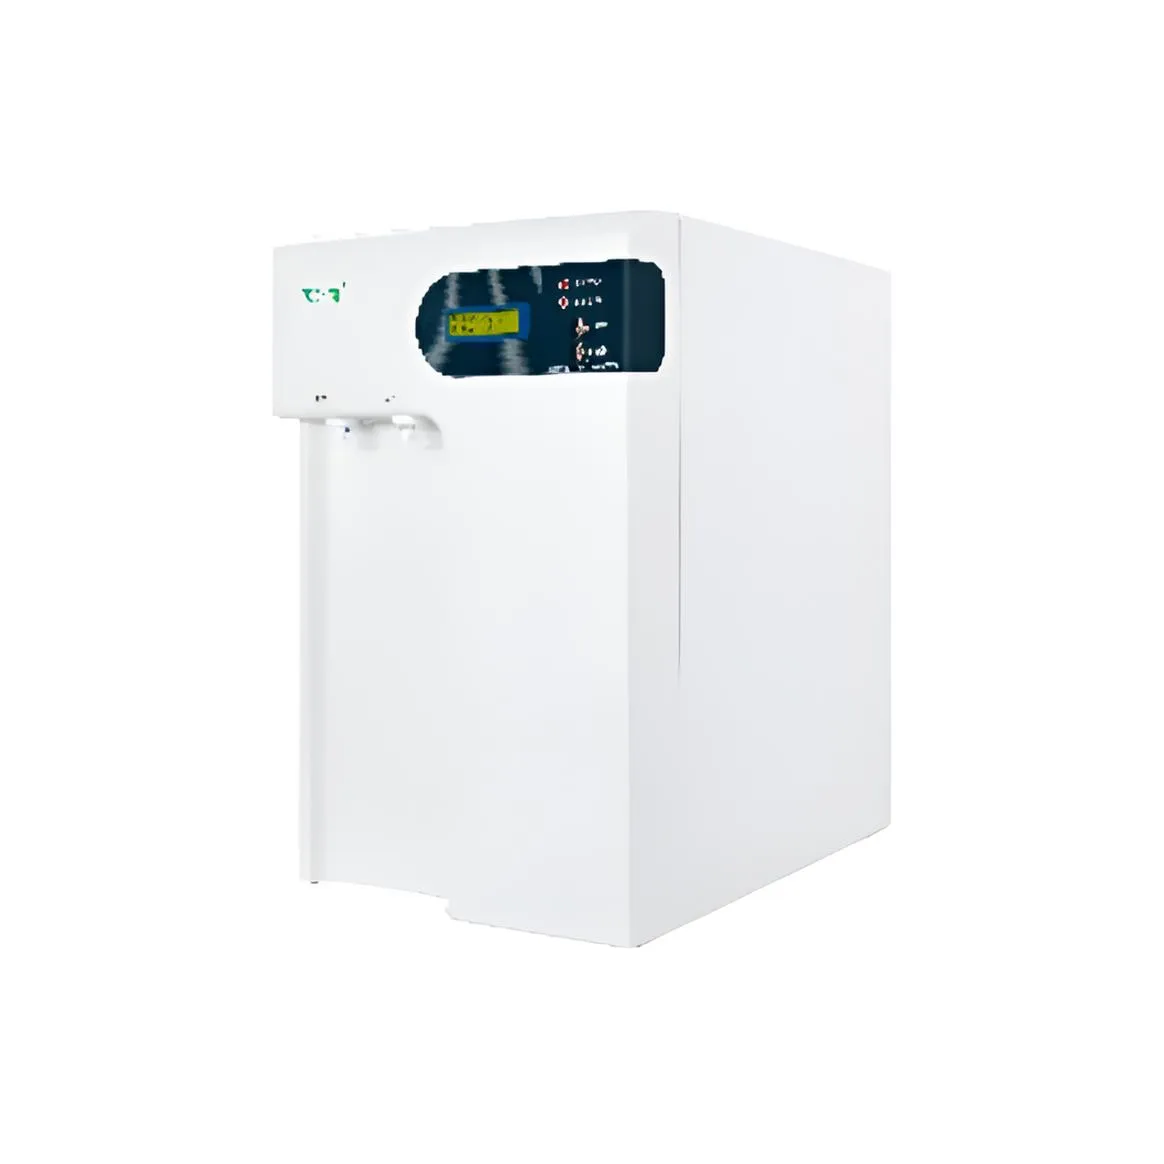
Before starting the installation process, proper preparation ensures a smooth setup of your Biochemistry Analyzer Water System. First, review the installation manual provided by ULUPURE. This document contains specific instructions tailored to your model. Next, check the package contents against the packing list. Make sure all components are present and undamaged. Look for any signs of rough handling during shipping.The installation site requires careful consideration. Choose a location close to the biochemistry analyzer. This minimizes the length of connecting tubes. A shorter path reduces the risk of contamination and maintains water purity. The area should be clean, dry, and well-ventilated. Avoid places exposed to direct sunlight or extreme temperatures. These conditions can affect system performance.Check the available utilities at the installation site. Verify that electrical outlets match the system's power requirements. Also, confirm that a suitable drain is accessible for system wastewater. A nearby water supply point is necessary for initial system filling and operation. Make sure this water meets the minimum quality standards required by the system.Inspect the biochemistry analyzer's connection points. These ports must be clean and ready for connection. Any debris or residual substances could contaminate the new water system. Prepare all tools needed for the installation. Common tools include wrenches, screwdrivers, and possibly pipe cutters. Having everything ready before starting saves time and prevents delays.
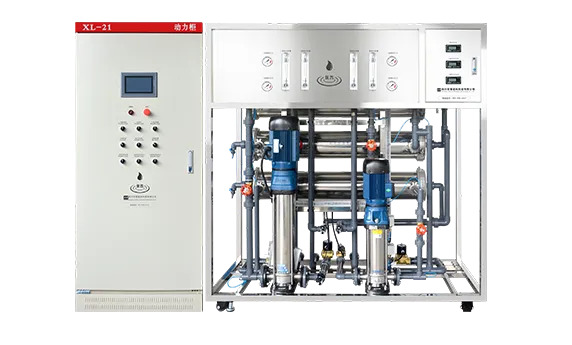
The installation process begins with placing the main unit in its designated position. Carefully move the system to avoid damaging internal components. Use proper lifting techniques if the unit is heavy. Ensure the system stands level on a stable surface. Use adjustable feet if needed to compensate for uneven flooring. A level base prevents stress on internal plumbing and ensures proper drainage.Now, connect the inlet water supply. Use the provided tubing connectors. These create a secure link between your water source and the system. Tighten connections by hand first, then use a wrench for a final quarter turn. Do not overtighten as this may damage threads or cause leaks. Run water through the line briefly before connection to clear any debris that might enter the system.Next, install the pre-filters if your model includes them. These filters protect the system from large particles that could cause damage. Follow the manufacturer's instructions for filter orientation and seating. Many filters have flow direction arrows that must be pointing correctly. Secure each filter according to the specified torque. Proper filter installation prevents leaks ensures adequate flow.Mount any required drain tubing. The system produces wastewater that needs proper disposal. Use the provided drain saddle to connect to an appropriate drain line. Make sure the drain tube has a continuous slope to prevent water backup. A blocked drain can cause system malfunction and water damage on your laboratory floor.
Pipeline connections are critical points in your water system installation. Each joint represents a potential leak point. Use only the original connectors supplied with the ULUPARE system. Third-party parts may not meet the same quality standards or dimensional requirements. Inspect all O-rings and seals before installation. Look for any signs of damage or deformation. Replace any compromised components immediately.When connecting tubing, insert it fully into the connector. This ensures a proper seal. A common mistake is partial insertion which leads to leaks. Most systems have a stop mark showing how far the tubing should go. If no mark exists, insert until resistance is felt. Then pull back slightly and insert again. This creates a secure fit without forcing the connection.Sealing technology in modern water systems relies on several principles. Compression fittings create seals through the pressure of a nut on a ferrule. The ferrule deforms to create a tight seal. O-ring seals rely on elastic deformation of the ring to fill gaps between surfaces. Threaded connections use pipe dope or thread seal tape to prevent leaks through the threads. Each type requires specific handling for proper sealing.Test all connections after installation but before system startup. Perform a pressure test using the system's pump or external air pressure. Gradually increase pressure to normal operating levels. Check each joint for moisture or drops. Mark any suspicious areas for later inspection. A leak at this stage is much easier to fix than after the system is operational.
Proper power configuration is essential for safe and reliable operation. First, check the system's voltage requirements. Most ULUPURE systems operate on 100-240V AC to accommodate different laboratory environments. Verify that your local electrical supply matches these specifications. Using incorrect voltage can damage components or create safety hazards.Install a dedicated electrical circuit for the water system. This prevents overloading existing circuits and ensures stable power supply. Use appropriately sized wiring that matches the system's current requirements. The circuit should include proper grounding to protect against electrical faults. Consider installing a surge protector to safeguard against power spikes that might damage sensitive electronic components.Position power cords to avoid potential damage. Do not run them under carpets, through doorways, or in areas where they might be stepped on. Keep cords away from heat sources and sharp edges. Use cable management solutions to organize cords and prevent tripping hazards. Never modify the power cord or plug in any way. If the cord shows signs of damage, replace it with an identical replacement from the manufacturer.Follow local electrical codes during installation. These regulations ensure safety and compliance with legal requirements. Most laboratories require a licensed electrician to handle electrical connections. Keep documentation of all electrical work for safety inspections. Regular maintenance should include checking electrical connections for tightness. Loose connections can cause arcing, overheating, and potential fire hazards.